Kit PVP FFA Elytra & Rockets Guide
Fuel, dive angles, safe landings, and aerial FFA hunting on a five-minute reset clock.
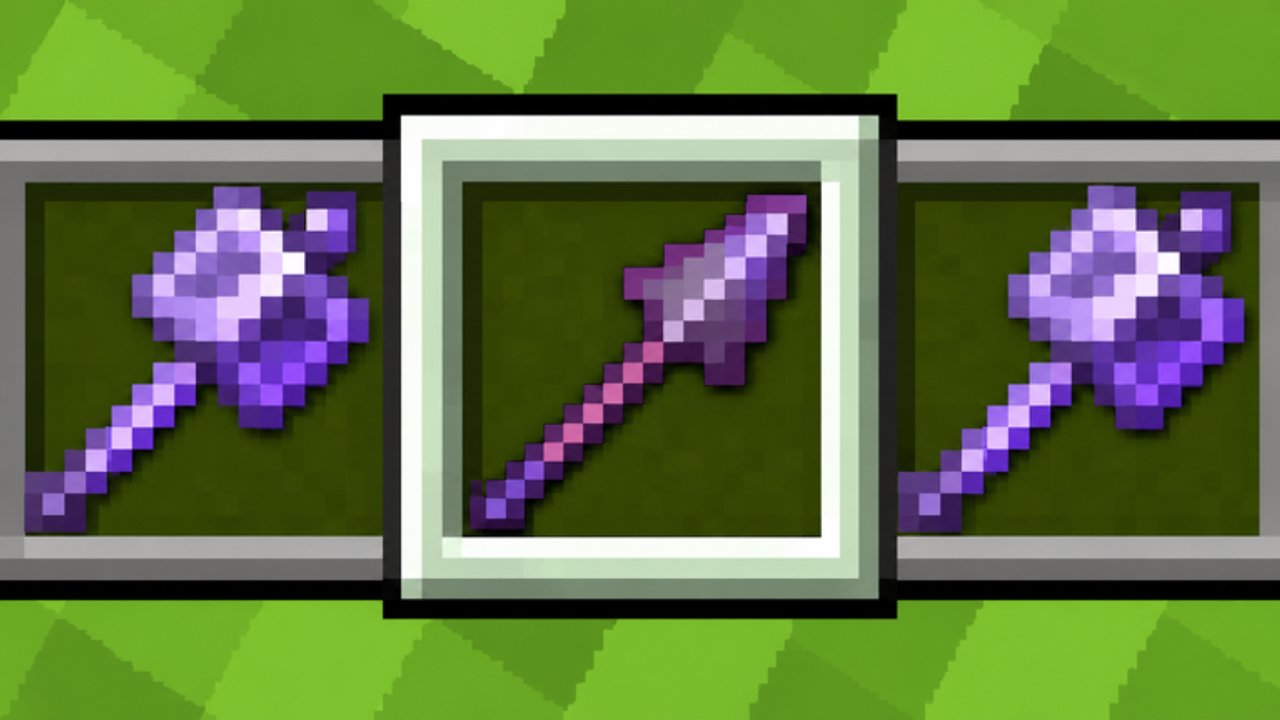
The Elytra & Rockets kit is Kit PVP FFA’s mobility specialist. You boost across the arena, choose which fights exist, dive for kills, and leave before a twenty-player lobby collapses on your landing tile. This guide covers rocket fuel management, dive angles, disengage habits, elytra-into-mace synergy, matchups versus Archer and Orbital Strike, bounty hunting, landing safety, and how the five-minute map reset changes every flight plan.
Pair this page with the roster overview on Kits, smash timing on Mace PvP, cooldown fundamentals on Combat Basics, and meta ranks on the Tier List. New accounts should still finish Getting Started before treating the sky as a permanent home.
What the kit is trying to do
Your win condition is selective aggression:
- Reach isolated or low targets faster than grounded kits.
- Convert height into damage (strafing hits or mace-style commits).
- Exit the moment a third party aims at your flight path.
- Farm killstreaks and bounties by rotating the whole map instead of camping one bridge.
Your lose condition is empty rockets over mid, a predictable dive into pre-aimed arrows, or a hard landing next to Sword and Crystal players who never left the ground. Elytra looks flashy; ranked FFA results come from boring fuel math and camera discipline.
Rocket fuel management
Treat rockets like a finite stamina bar, not fireworks:
- Budget a leave — never spend the last boost on a speculative dive. Keep enough fuel to clear the kill zone.
- Short boosts beat panic spam — tap for altitude corrections; long continuous burns advertise you to every Archer.
- Refuel windows — after a safe pick, glide quiet edges while you restock mental inventory: gapple, pearl, remaining rockets.
- Reset clock awareness — late in the five-minute cycle, do not climb for a cinematic tower dive that ends as the map wipes. Spend fuel on lateral rotates and opportunistic landings instead.
Empty-rocket deaths are almost always self-inflicted. If you are already low on fuel, land on a quiet roof, fight grounded for one life, or swap kits rather than inventing a miracle midair save.
Dive angles that convert
Good dives share a checklist:
- Full attack cooldown before the commit (Combat Basics).
- Target distracted — gappling, bridging, crystal placing, or finishing someone else.
- Diagonal entry — straight vertical drops are free snacks for bows and orbitals.
- Exit vector pre-aimed — pearl direction or leftover rocket thrust decided before you swing.
Angle library:
- Shallow chase dive on a fleeing Sword user crossing a bridge.
- Steep smash dive when you have meaningful height and want mace-style knockback (cross-train Mace PvP).
- Abort dive — start the dive to force a pearl, then boost away without swinging if two spectators turned.
Bad dives: diving the exact center of a five-player pile, diving with a shield already raised against you and no follow-up, diving into an obvious Orbital Strike zone because the bounty looked juicy.
Disengage is the real rank skill
Elytra players who only practice kills plateau. Disengage rules:
- After a public multi-knockback, leave. You just pinged the lobby.
- If your first swing hits a full shield and the target’s friend peels, boost out — do not invent a 1v2 on the floor.
- When rockets are low, land away from mid, not on the contested scaffold.
- Totem pops midair are a signal to glide to safety, not to re-dive the same angle.
Disengage preserves killstreaks and keeps bounty hunters guessing. The Players hub frames the same idea for streaks and Super Mode: bank value, do not donate it.
Elytra-into-mace synergy
Even when you stay on Elytra & Rockets, the smash fantasy overlaps with Mace kits:
- Gain sky with controlled boosts.
- Line a dive on a clustered or healing target.
- Time the heavy falling hit for full cooldown.
- Rocket or pearl out before Crystal and Sword players claim the crater.
If you prefer the dedicated smash kits, queue Mace or Mace & Spear after a flight session and reuse the same height discipline. The Mace PvP guide covers wind charges and spear lunges; this page covers the aerial approach that feeds those smashes. Do not mentally swap kits mid-life — hotbar reality wins over fantasy loadouts.
Matchups: Archer and Orbital Strike
Versus Archer: assume every open flight path is pre-aimed. Fly broken sightlines, hug structure undersides, and change elevation irregularly. Force the Archer to move; then dive the landing or the reload. Long straight glides across mid are highlight-reel deaths.
Versus Orbital Strike: orbitals punish clumps and predictable perch spots. Do not orbit the same tower after you just knocked three people. Spread the lobby, pick edges, and treat glowing group fights as traps rather than free farms.
Versus TNT / End Crystals: never land on a bridge you did not scan. Explosive kits delete your runway. Soften with a dive only when the crystal glow is already committed elsewhere — details for crystal timing live on Crystal PvP.
Versus Sword: win on tempo. Chip, leave, re-engage. Extended floor trades throw away your kit identity.
FFA bounty hunting with wings
Bounties mark high-value targets so the whole server pathfinds toward one player. Elytra is the best kit for arriving first and leaving first:
- Scout from altitude; confirm whether the bounty is already being collapsed.
- Take the kill only if you can finish and exit before the second wave.
- If you are the bounty, stop farming mid. Use rockets to break line of sight, land near reset timing, and spend Super Mode to shatter a chase rather than greed one more edge frag.
Killstreak banking pairs with the same patience. Read Players for streak, bounty, Top Kills, Level 200, and Prestige framing, then return here for the aerial execution layer.
Landing safety checklist
Before every touchdown:
- Third-person glance (F5 if it helps) for pearls and bows.
- Confirm a block that will still exist — late-cycle terrain near the wipe is a trap.
- Prefer roofs and side ledges over the exact tile where you just created knockback chaos.
- Have gapple or pearl ready on the hotbar the frame you land.
- If the landing looks contested, abort and burn a rocket laterally instead of “hoping.”
Hard landings next to End Crystals or TNT setups are how elytra mains feed the Tier List narratives that “mobility is griefed.” Usually it was a landing choice, not balance.
Five-minute reset implications
The map resets about every five minutes. Flight macro by phase:
- Early cycle: use new scaffolds and towers as temporary runways; invest short climbs.
- Mid cycle: best hunting window — structures exist, players are distracted, fuel economy matters.
- Late cycle: stop building personal skybases; rotate with remaining fuel; expect Orbital and Crystal players to delete leftover perches; prepare for a clean grounded life after the wipe.
Thinking of each reset as a micro-match keeps you from mourning a tower that was always temporary. Server size sits around twenty players, so every loud dive has an audience.
Practice plan (one session)
- Ten fuel-budget lives — end each life with rockets still available; if you empty out, mark it a fail even on a kill.
- Ten abort dives — force a pearl, leave alive, no greed swing.
- Ten diagonal entries on distracted edge players — no mid pile dives.
- Five bounty or streak simulations — take one pick, rotate map quadrant, refuse the second if contested.
- Review deaths: fuel, Archer angle, bad landing, or third party?
Then play ten Sword lives so grounded cooldown timing does not rot. Redeem live strings such as RELEASE (+125 Coins) via the SHOP NPC flow on Codes when you need a coin bump, skim Updates after mobility patches, and keep Wiki / Scripts bookmarked for official links versus risky automation.
Elytra & Rockets rewards pilots who treat the sky as a route planner. Manage fuel, pick angles, land with a plan, and let the five-minute reset erase greed you refused to commit.
Frequently Asked Questions
Quick answers for Kit PVP FFA players.
How should I manage rockets in Kit PVP FFA?
Always reserve fuel for an exit. Use short corrective boosts, avoid advertising long burns across mid, and do not spend your last rocket on a speculative dive.
What makes a good elytra dive?
Full attack cooldown, a distracted target, a diagonal entry, and a pre-aimed pearl or rocket exit. Abort if two spectators turn toward your path.
How do I play Elytra into Archer or Orbital Strike?
Break sightlines against Archer, vary elevation, and never orbit the same perch after a loud multi-knockback when orbitals are online.
Should I keep flying right before the map resets?
Late cycle, stop investing in skybases. Rotate with remaining fuel, expect perches to vanish, and prepare for a grounded life after the five-minute wipe.
Does Elytra help with bounties and killstreaks?
Yes. You arrive and leave faster than grounded kits. Take isolated picks, refuse contested second dives, and read the Players hub for streak and Super Mode timing.